Install Android 4.4 with Play Store on Wandboard in 7 Steps
Happy New Year!
The Wandboard is a really great imx6 development system that allows easy comparison of the performance of three of the processor variants. Here is a guide on how to get it up and running with Android KitKat.
For this (apart from your Wandboard!), you’ll need a PC running Linux, and a micro SD card no bigger than 4GB. In this tutorial we’re using Ubuntu 14.04.1 amd64.
Burning an image of Android 4.4 for Wandboard
1.Download The Image
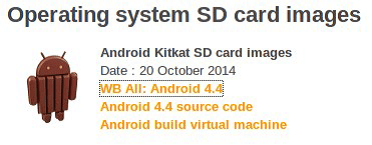
Download the prebuilt image of android 4.4 “android-4.4.2-wandboard-2014 0815” from Wandboard’s official website and extract it.
2. Locate Your Micro SD
Open a terminal and type lsblk to identify where your SD card is mounted, in my case this was sdc (Note: Not sdc1, sdc2, etc., which are the partitions of the mounted card, not the card itself). If you don’t know the name of your card you can find it by right-clicking Properties within the Nautilus file explorer.
3. Write The Image
To write the image onto your micro SD card, run the command: sudo dd if=YOURSDCARDIMAGE of=//YOURSDCARDDEVICE bs=1M

Once this is done eject the micro SD card; when you insert it again 6 partitions should appear: vender, rootfs, data, cache, imx6 and a system partition whose name is a long combination of numbers and letters.
4. Configure
In the imx6 partition, move the uEnv.txt file from boot to settings folder. Then copy the file that better suits your device from settings to boot and rename it uEnv.txt. We picked the uEnv_wand_solo_hdmi_720P.txt file because we’re using the solo version (this configuration is recommended in the ReadMe.txt for a smoother experience).
If you insert the micro SD into the Wandboard and power-up the device, it should now boot Android. However, at this point it will not have the official Google applications on it.
5. Download the Play Store
Download the Google applications package (gapps-kk-20140606-signed.zip) from a file hosting website, such as Google Drive or Goo.im and extract the compressed files.
If you want all the Google applications, copy all the files from gapps-kk-20140606-signed to the micro SD. However for this tutorial, we’re just going to install the Google Play Store.
6. Copy The .apks With Root Permissions
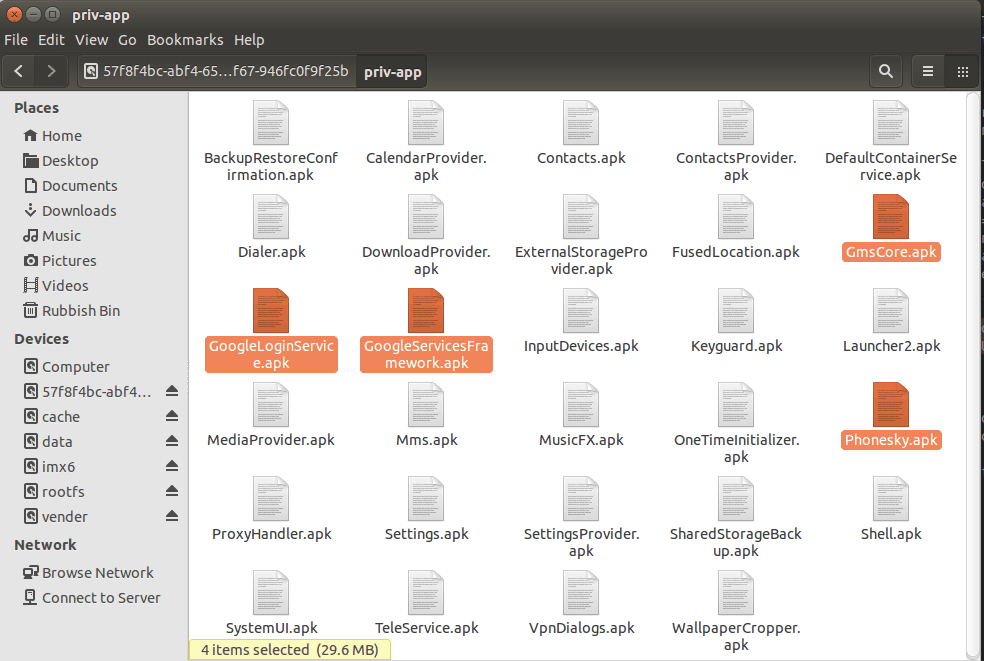
Copy the files –
- GmsCore.apk
- GoogleLoginService.apk
- GoogleServicesFramework.apk
- Phonesky.apk
– from the “gapps-kk-20140606-signed/system/priv-app” folder to the “priv-app” folder in the system partition of the micro SD card. Root permissions are required for this, you can open a file explorer window with root permissions using the command sudo nautilus from the terminal.
7. Well, Hello Play Store…
Insert the micro SD card into your Wandboard, connect the HDMI cable (or other cable depending on your screen and uEnv.txt file), Ethernet (you’ll need internet if you want to log in the Play Store, the Dual Lite and Quad versions have Wi-Fi, which will not work with the Ethernet cable plugged in), a mouse and the 5v power supply.
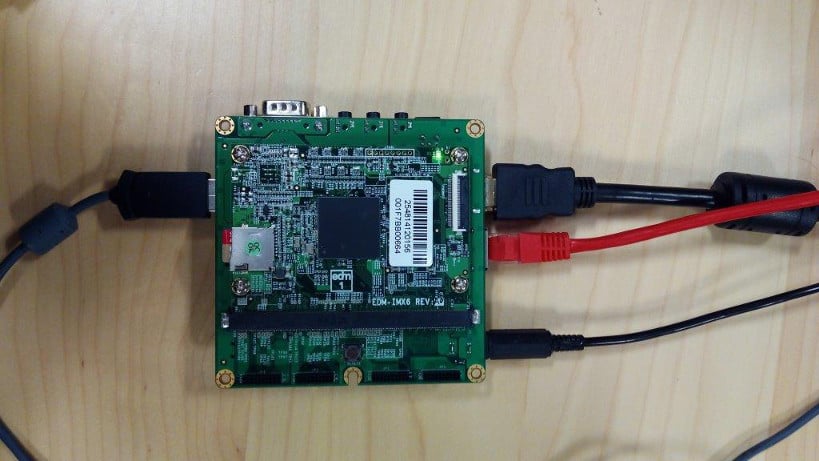
And – voila! Installing Android 4.4 with Play Store on Wandboard doesn’t get much simpler than that. Initially, it may take a long time to boot and will run a little slowly, but that should improve as applications are cached into RAM.
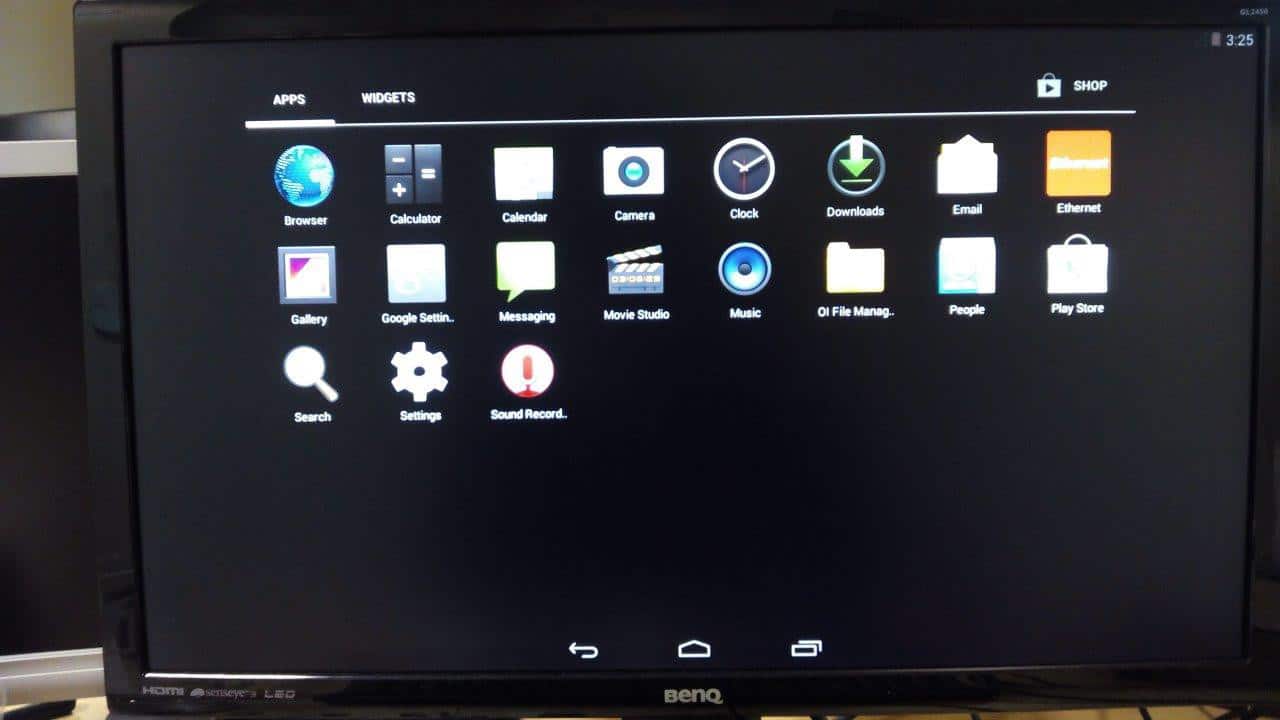
*We tested this method downloading free applications only.
Further reading on Installing Android 4.4 with Play Store on Wandboard:
(by the Android Applications Department at ByteSnap Design)
How can ByteSnap help you today?
From start-ups to blue chips, ByteSnap’s embedded systems developers are enabling companies to stay a step ahead by providing them with bespoke solutions. Maintain your competitive edge – contact us today and find out how we can optimise your product development!


